Hello, Fluffsters! Happy Wednesday!
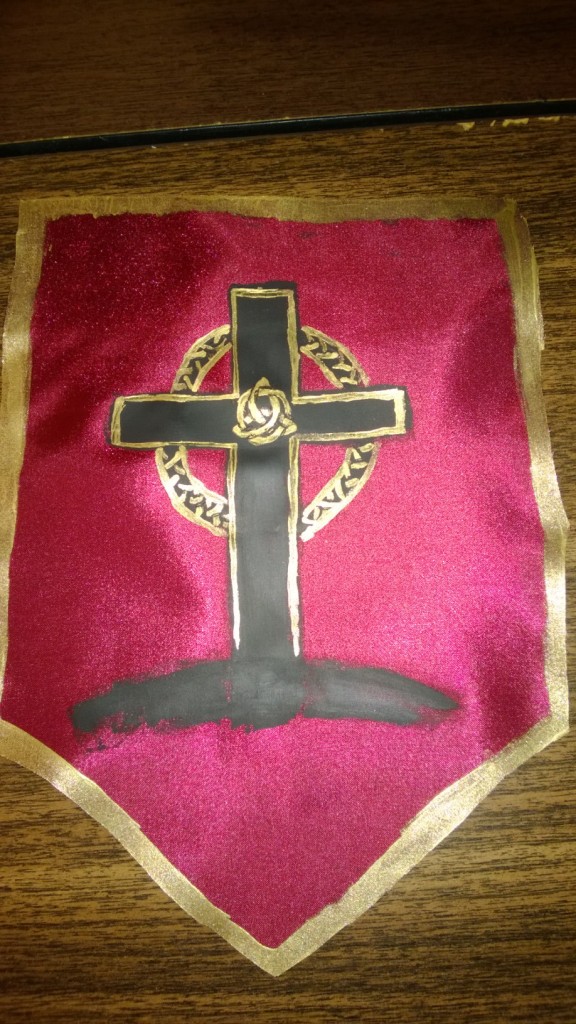
As I mentioned yesterday, I’ve been a bit busy crafting. (It’s been fantastically fun.)
The first thing that I made yesterday was a painted miniature banner.
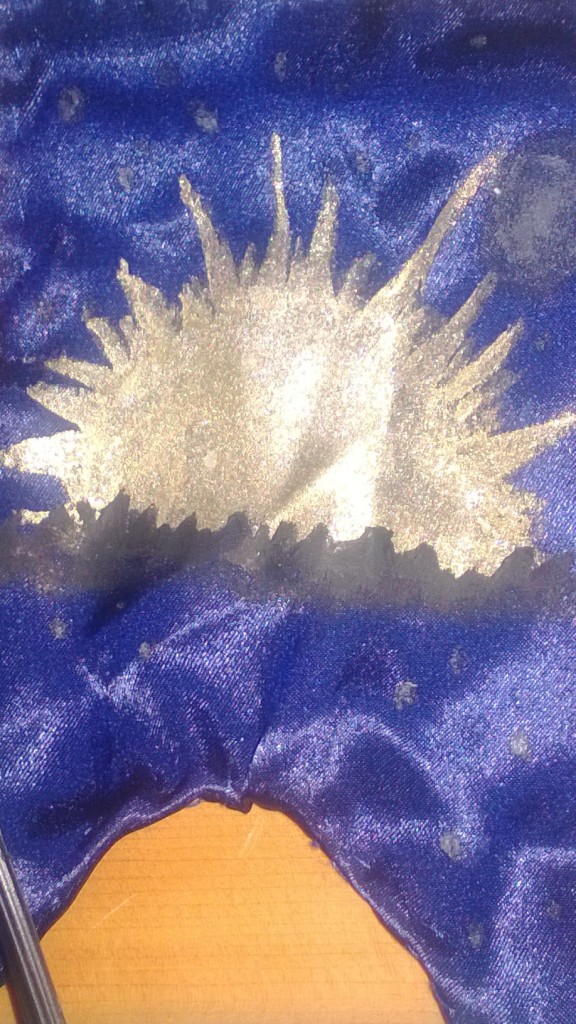
I really liked the gold paint on the blue.
The really fun part about it? It’s glow in the dark! That means that the sun motif disappears in the dark, and the stars that I painted on come out. This is my first attempt at painting a banner, and I think it worked really well. (If I do say so myself!)
DIY Miniature Painted Banner Tutorial
Materials
To start with, find any spare piece of fabric. I personally used a dark blue satin that I had. (I made a dress out of the material about two years ago, and never got rid of the scraps. What can I say? They sometimes turn out to be useful!)
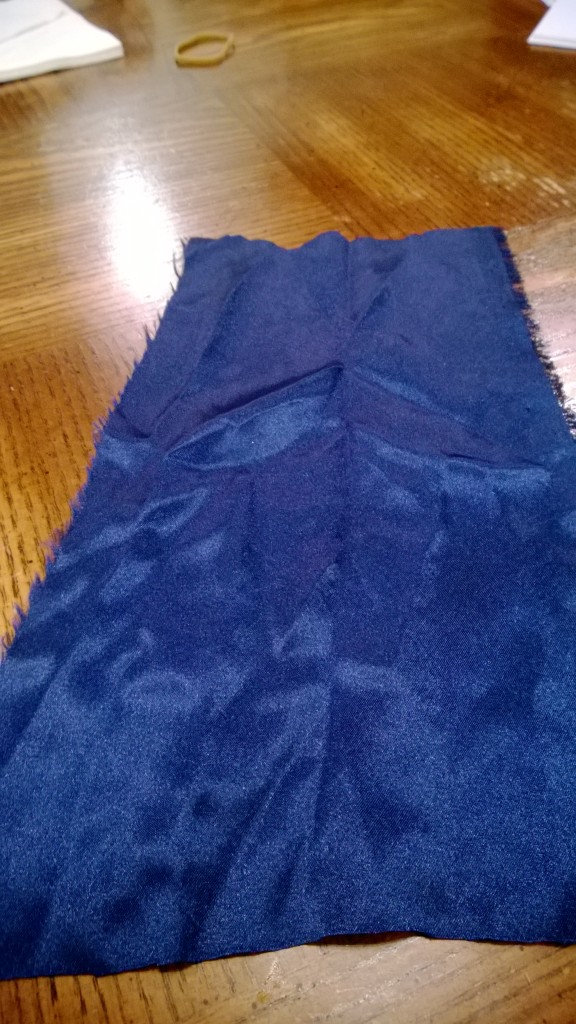
A small piece of fabric.
Also, get a needle and some sewing thread. I happened to find some that matched the fabric almost perfectly. I love it when that happens! At the end, you’ll also need some paint that works on Fabric. I used either Martha Stewart All Purpose Paint, or Folk Art Acrylic. (I don’t remember which- sorry!)
So, just to clarify, you’ll need
- Fabric scrap (Any size works. It depends on how big you want your banner.)
- Needle & Thread
- Paints that work on fabric
Instructions
1) Cut a piece of fabric. I first trimmed it down to approximately a reasonable size. I think it was about 6×8 inches, but I’m not entirely sure. This is really flexible, though, and only depends on how large you want your banner to be. Whatever size you’re making it, don’t forget that you’re going to need to leave room for hemming. Unless you found a fabric that doesn’t fray, like I did with my red banner from yesterday. However, since this is for a sewn and painted banner, I’m going to assume the fabric frays.
Oops. Sorry.
2) Shape the fabric. To get the banner shape, first fold the fabric in half length-wise / vertically. (Or “hotdog style” if that helps.) Next, from about 1/4 to 1/3 of the way up on the fold, cut towards the open edge corners. This gets the “splayed” banner effect. (If you want more of a shield shape, cut at an angle from the bottom of the fold up towards about 1/4 to 1/3 of the way up the fabric, at the edge side.)
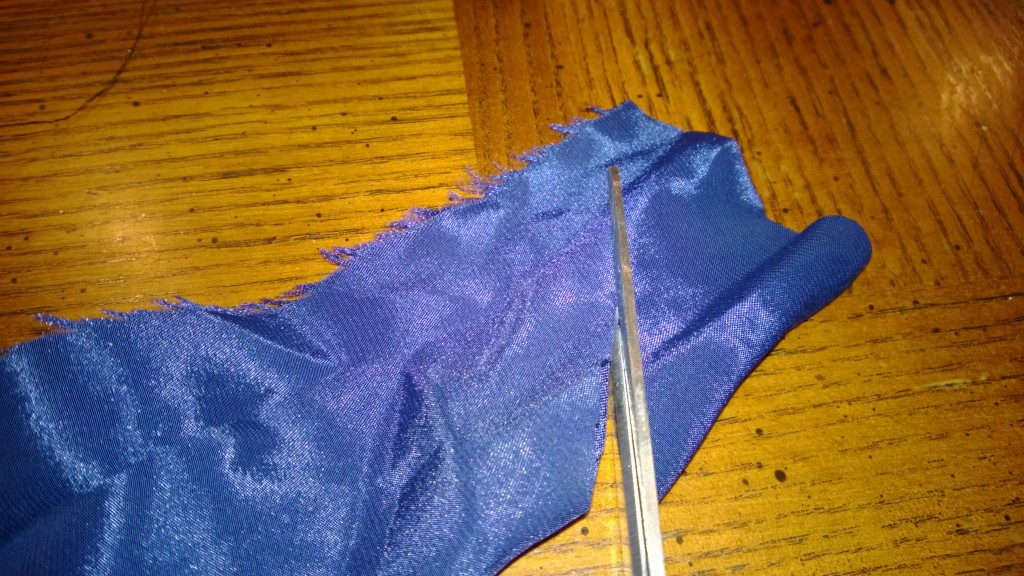
Cutting the fabric into a banner shape.
It should look something like this when you’re done and unfold it:
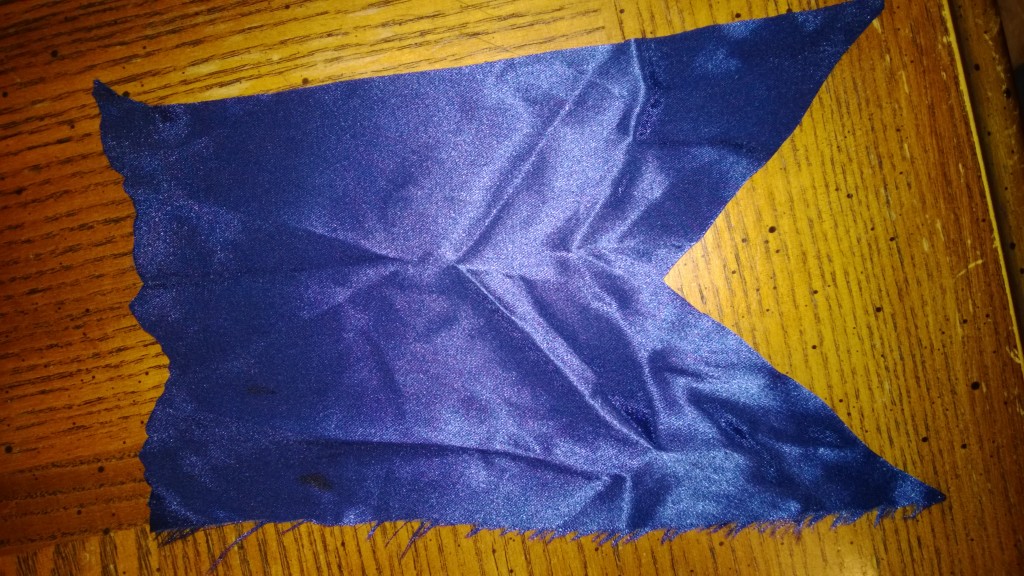
unfolded splayed banner shape
Note: I didn’t iron this fabric before cutting. That was a mistake. Take the time and get the wrinkles out! It helps a lot with painting later on.
I also don’t show it here, but after this, I evened out the top edge slightly, even before stitching.
3) First pass with thread and needle. You don’t have to, but I found it easier to hem the non-angled bits. The way I did this was for each edge, I first did a simple hand stitch over a single fold of fabric. (This is more effective then pinning a hem in place.)
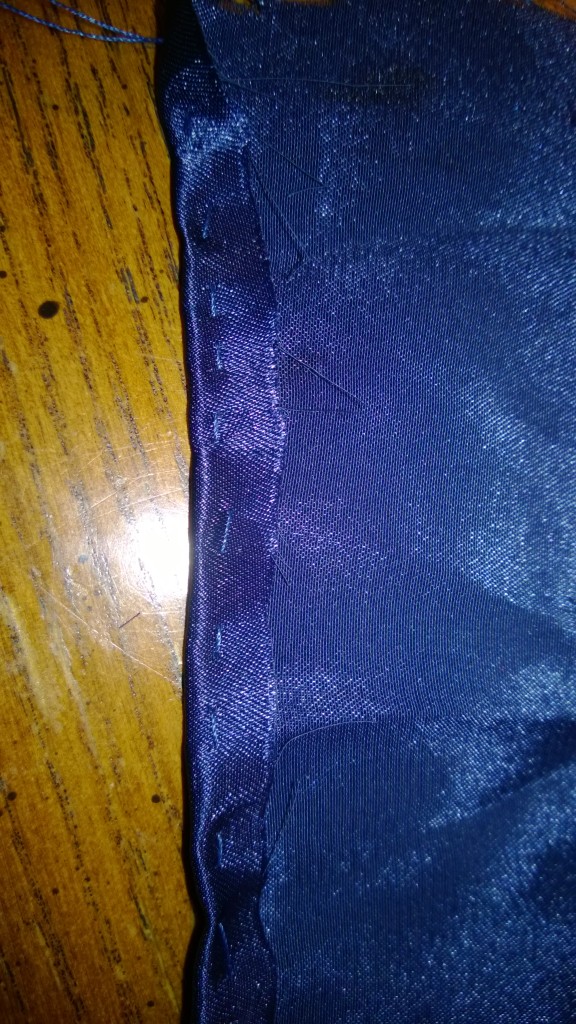
Stitching only a single fold in.
As I’m sure you’re aware, fold towards the wrong side of the fabric, if you have fabric with a right / wrong side. Also, be sure to fold consistently towards one side. Nobody makes a banner to see the folded edges- that’s just silly.
4) Make it into a hem. What I personally did was I got one edge hemmed before moving onto the next edge. Looking back on it, it might make more sense to make a first pass on all the edges, and then convert them all to actual hems. If you try that, let me know how it works?
But anyway. For those who don’t know how to do that, basically just take your edge and fold it over (towards the same side) again. The point is to hide the unfinished edge so that it won’t fray. This is especially important with fabric like the type I was using that frays waaaay too quickly.
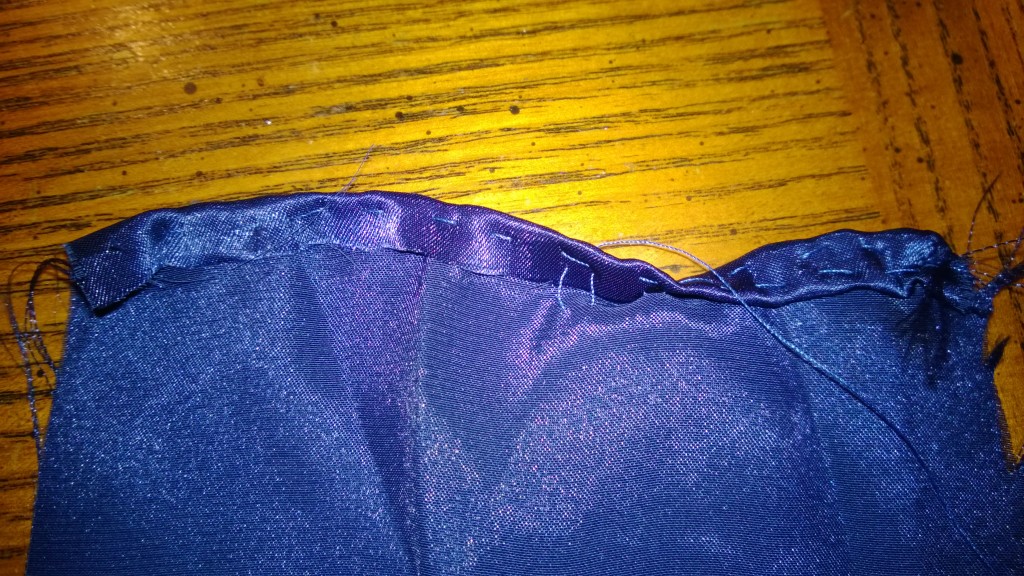
An example of what the hemming will look like
As you hem, it should look something like the photo above.
Do this for all of your straight edges.
5) Deal carefully with your angled edges. To get them to work better, you’re going to want to make a slit up the middle of the banner. A small slit will do- this is just to allow you to hem each angle a little more easily, and still have a relatively tight corner there at the bottom. Then, repeat the steps that you did with the straighter edges. (You know. Fold once, stitch down, fold again, stitch again.)
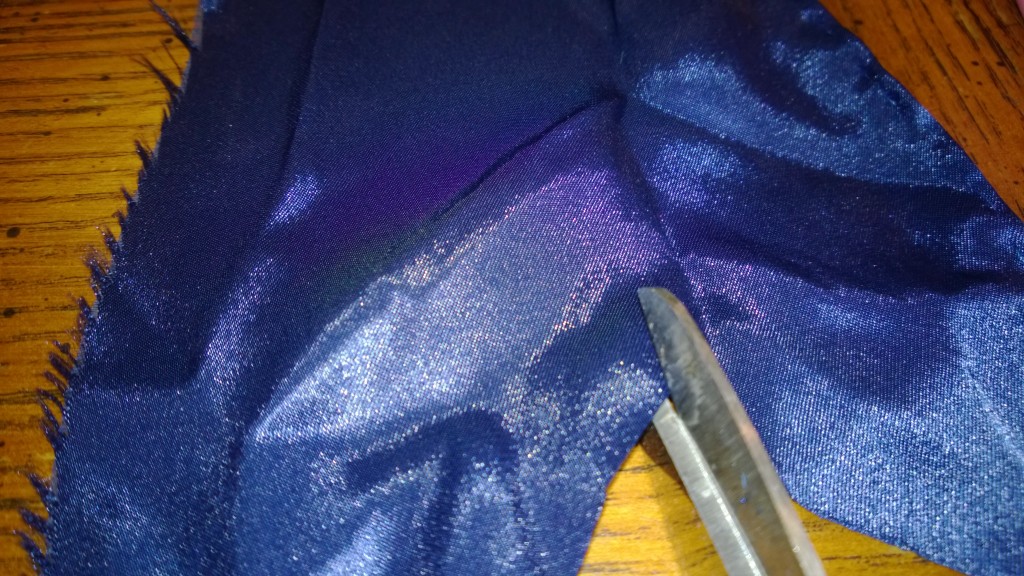
Add the slit to your banner to allow for tighter corners.
6) Trim extra. When you’re done rolling / hemming the angled parts, you’re going to get a few awkward parts hanging off the end.
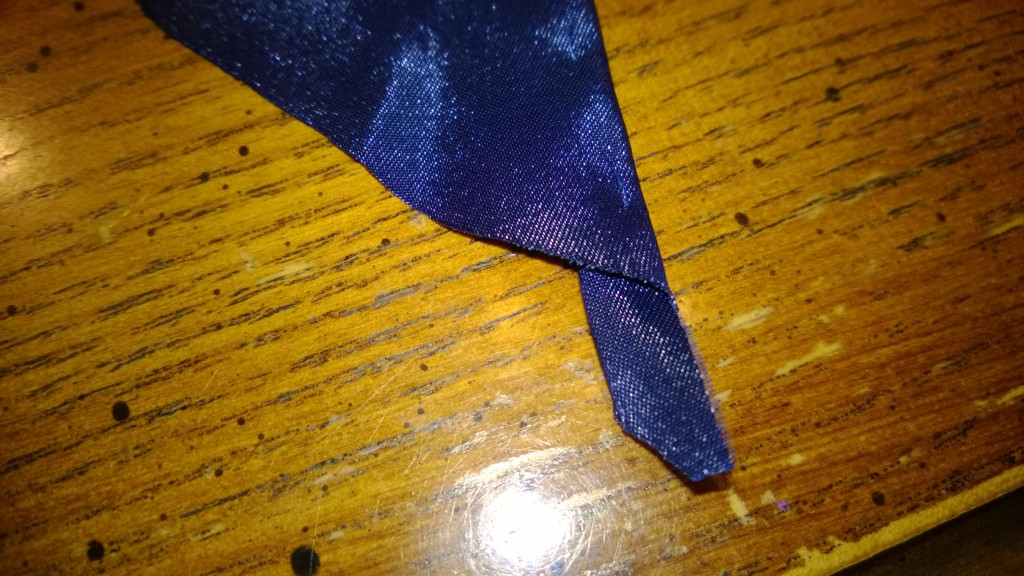
Awkward corner.
Just trim that part, to make it even with the rest of that part of the banner.
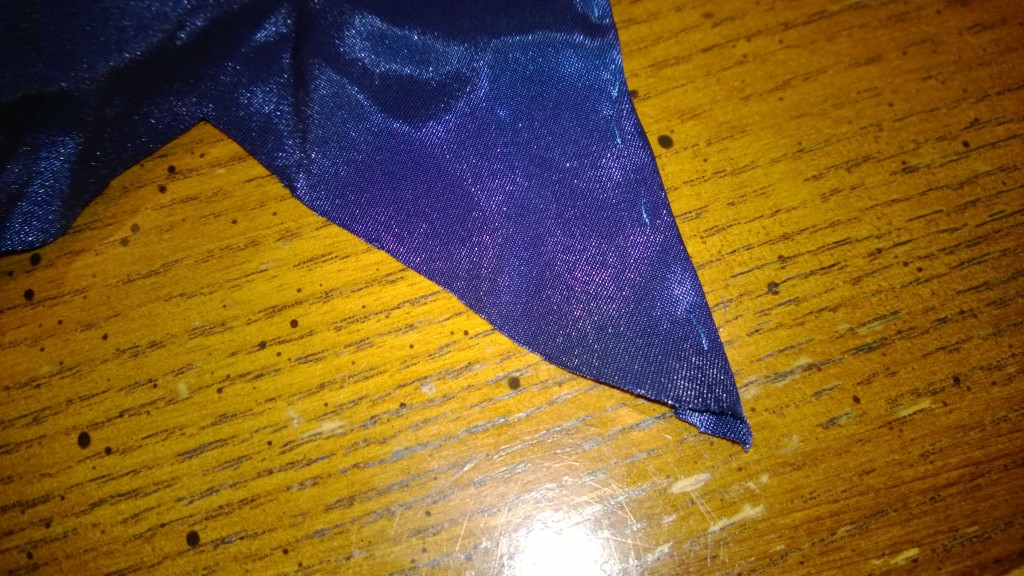
Trimmed corner part
7) You’re done with the stitching! Now, on to painting!
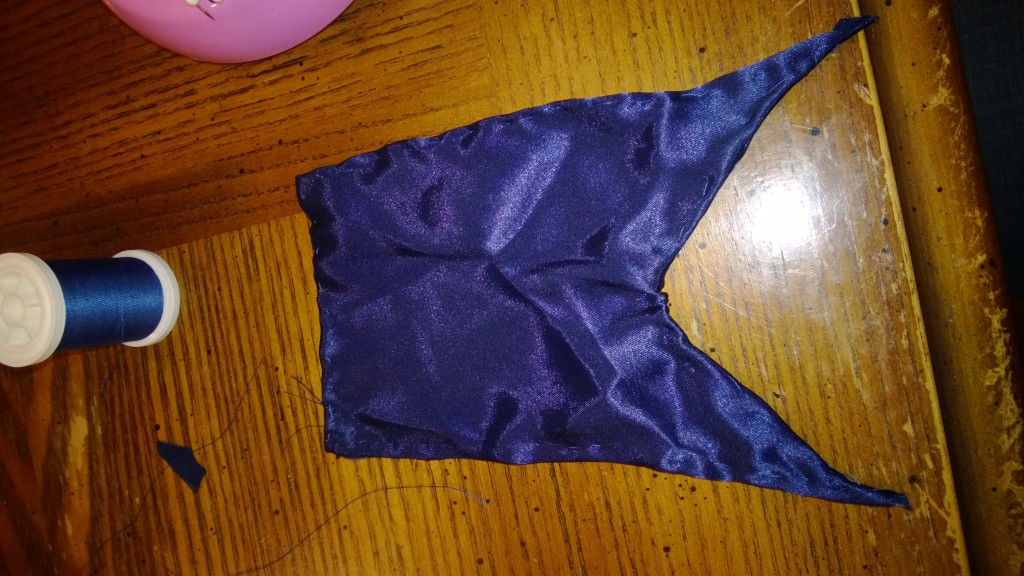
Finished stitching! Paint, and you’re done!
As I mentioned, I just used craft paints of various sorts. I ended up freehanding everything. That’s primarily because I don’t own any decent stencils of any sort. Painting is completely up to you. The key thing to remember is to have fun! This is probably one of the cheapest crafts you can do, since in theory you’re only using leftover scraps. So yes, you’re paying for paint. But you don’t need that much for the motifs. In all, it’s fairly inexpensive.
As always, if you make one, please comment or send me a picture? My email is webmaster [at] totalfluff.com . (Clearly use the “@” instead of [at]. No spaces, either. Those are simply there to prevent spamminess, I hope.)
Happy Wednesday! And happy crafting!

