Note: If this is your first time to TotalFluff, please visit this brief explanation. Thanks!
Hello, Fluffsters! Remember how a bit over a week ago I ruined a pair of pants doing a craft project, and I said I’d share photos with you in a while, because it was a gift for someone?
Well, today’s your lucky day, because I’m about to share the photos with you!
“Your lucky day”? Really, Webmaster? Do you try to come across as arrogant, or does it come naturally to you?
…Says the know-it-all in the computer…
But I digress.
DIY Housewarming Card
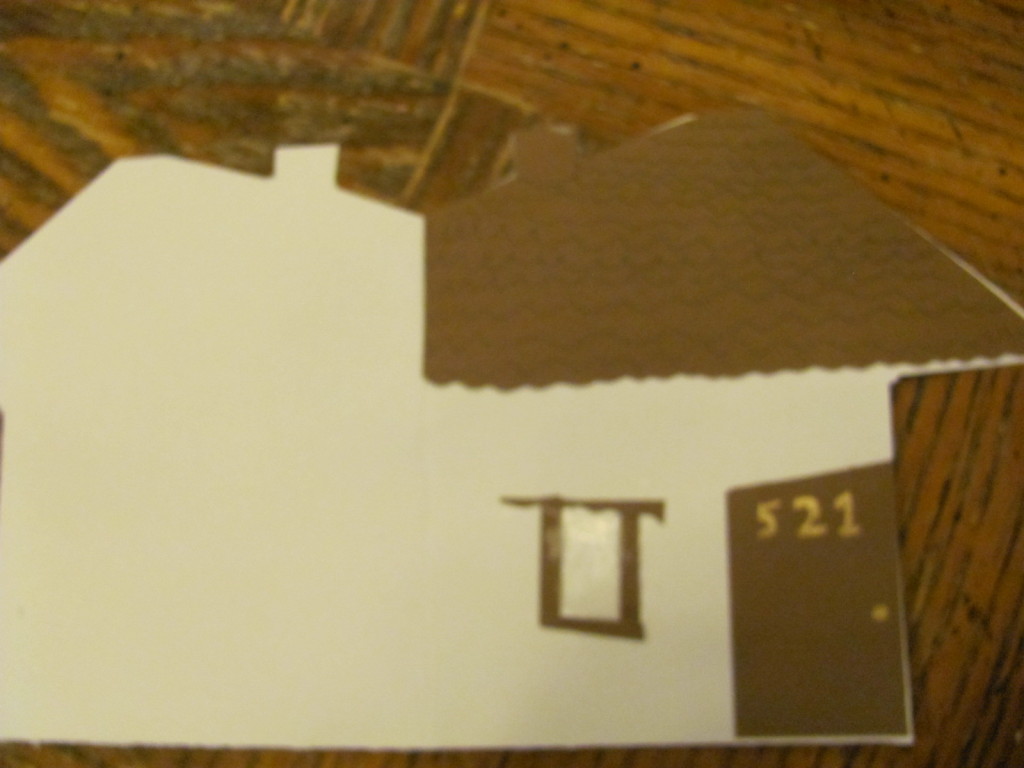
So, here’s the end result:
I didn’t do a professional looking message, but I did write a personal one. So I don’t have a picture of the inside. But really, it’s nothing very special.
Here are the instructions for how to make it.
1) Find a light-colored piece of cardstock and a brown piece of cardstock. I chose white and dark brown. Clearly. The white is the main color, the brown is the roof and door color.
2) Cut them in half vertically. Keep one piece of each color. You won’t need the other scraps.
3) Fold in half. The end result is that you have a card that’s about a quarter of a page in area. Half of the length by half of the width. Basically, this is to make it fit in a greeting-card-sized envelope. (Normally they’re called “invitation envelopes”, I think.)
4) On the white cardstock, trace a house shape. Note where your fold is. The way I did my house was I kept the fold to the left of the “floor”. So in the bottom right hand corner, I traced a rectangle. Or a semi-rectangle. If the angles are not perfect right-angles, it adds a cute, quirky look to the card. For the roof, start at the corner where your rectangle left off. Figure out what angle you want your roof to have. Trace that angle. Note what your angle is, and draw a similar angle down. Note: Do this on the “right” side of your white cardstock. If you want to add a chimney, find a location on your slanted roof. Trace a small semi-rectangle.
5) Cut out the shapes. Hold both pieces of cardstock together, and cut. In this instance, you probably want the brown on the inside so that you can see the traces. Be sure to keep your pieces of cardstock folded! Note: I didn’t do this, but you could cut the brown cardstock in half, on the fold, before your cut out the shapes. That might make it a bit easier in future steps.
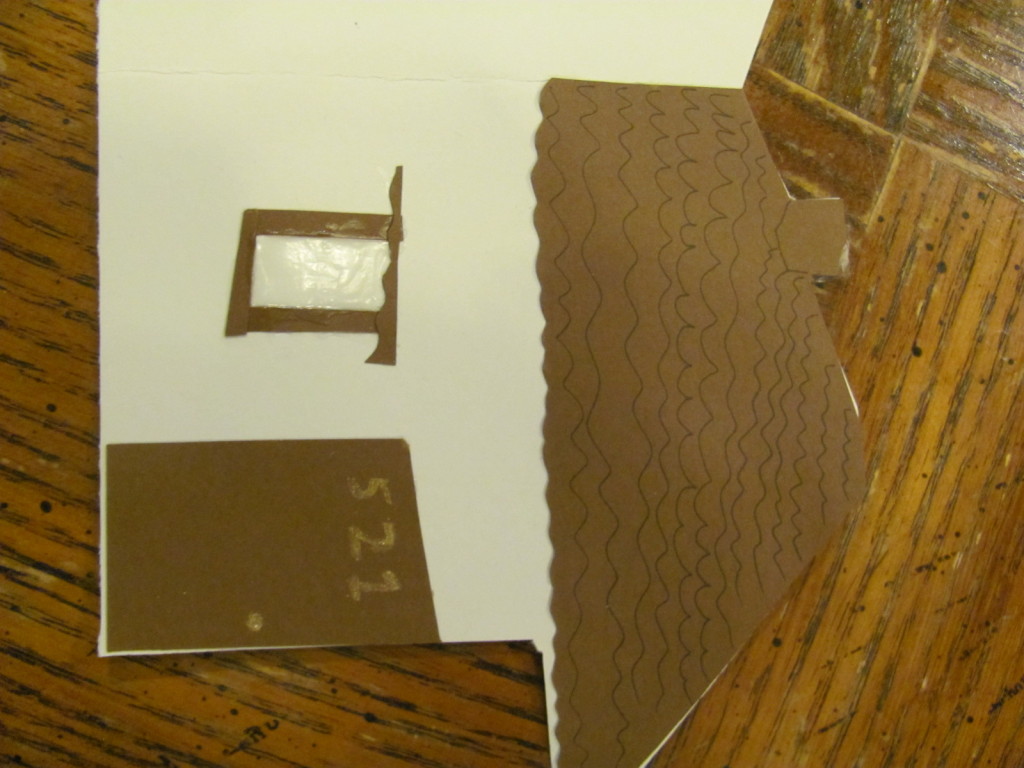
6) Shape the brown cardstock. Find the bottom of the roof. I scallop-cut across where the bottom of the roof was. From the remaining cardstock, you can cut a thin(ish) rectangle to be your door. Looking at the dimensions, I think it was probably about a 1×2 inch rectangle. Start off with a bit bigger than that, and trim it down to an appropriate size. Also, cut out 4 thin strips of cardstock to make windows with.
7) Glue. First, you want to glue the brown of the roof to the top of the white card. Try to make it line up. After all, you cut them to exactly the same dimensions… So it should work, right? Then you probably want to glue the door. Find where it looks reasonable, and glue it down. This is your card, so you have flexibility here! You can look at the pictures of mine for a reference, if you wish. After you get the door done, you’re going to do the window. Ok, so I’m going to suggest you do it differently from how I did it here. I recommend spreading glue in a rectangle, and then pressing the little strips of cardstock you made onto the glue. What I did was I glued down the cardstock, each piece with its own glue squirt. I realize now that it wasn’t the best of all possible ideas… If you do go with my original way, you will then want to spread a thin layer of glue on the inside. When the glue dries, it leaves a shiny appearance. This will give your “window” a slight “glass” effect. If any of you are artistic, or if you know what the inside of your friend’s house will look like, you could probably past a picture of their house behind the “window.” That could actually be really cute! Let me know if you do that?
Anyways.
8) Paint / decorations. I happened to have a bit of gold paint on hand. I took a very fine tipped brush and painted a doorknob onto the door, in addition to the location’s street number there at the top. At some point in there I also ended up sketching “shingles” onto the roof. That’s totally optional. I’m not sure I like how that part came out, but it was probably worse just having straight brown. So all in all, I think it was the better move.
Happy Sunday, Fluffsters! Have fun! If you do end up making a card like this, do let me know! (I’d also love to see pictures.)

