Note: If this is your first time to TotalFluff, please visit this brief explanation. Thanks!
Tag Archives: arts and crafts
Yarn! It’s Practically Finished!
Note: If this is your first time to TotalFluff, please visit this brief explanation. Thanks!
Hello, Fluffsters! Happy Thursday.
Last night I didn’t have that much time to write this post, because I was a little bit too caught up with arts and crafts. And by that, I mean I was FINISHING MY FIRST HOME-SPUN YARN!!! (I’m a bit excited, could you tell?)
No. Really? You’re excited?
I know. Oddest thing, right?
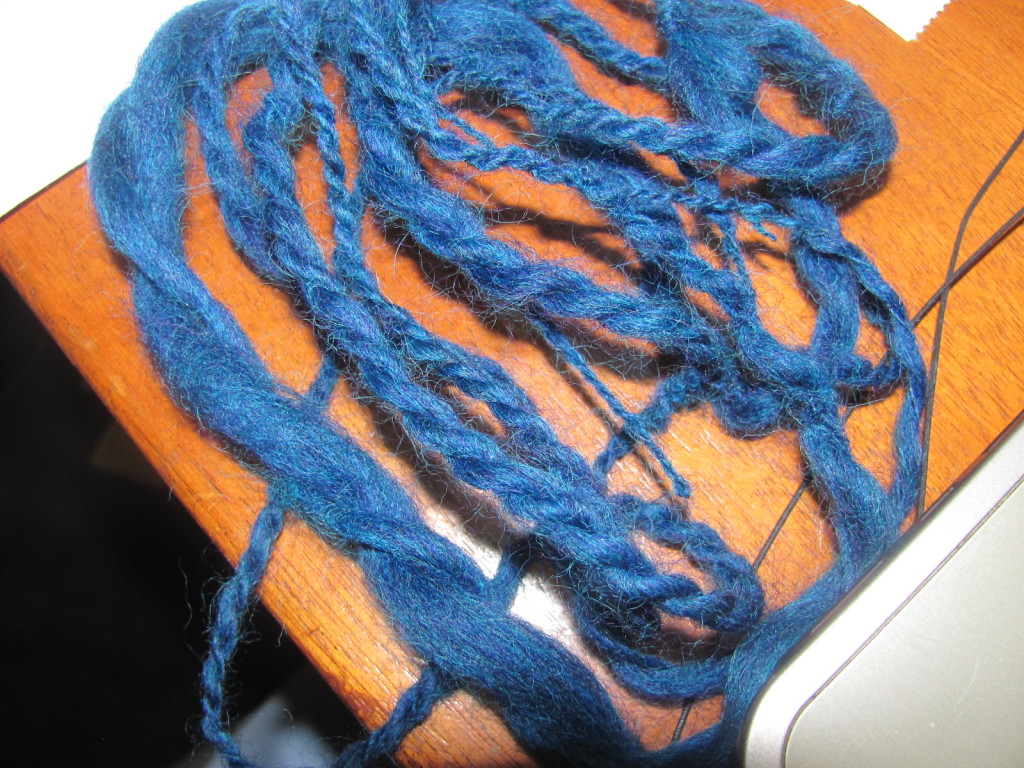
Anyways, here’s a picture of my new yarn hanging up to dry.
Isn’t it lovely? I’m hoping I have enough to make a hat with it.
I’m also really looking forward to seeing how my undyed yarn that I’m currently making comes out. I personally haven’t dyed anything before, so it’ll be an interesting experiment… I’ll be sure to let you know in a few months once I actually do it.
Anyways, Fluffsters, happy Thursday! I hope you have a fantastic day and a wonderful rest of your week.
Spinning Yarns!
Note: If this is your first time to TotalFluff, please visit this brief explanation. Thanks!
So, I’m ridiculously happy. I got my drop spindle today!
As in for spinning thread and yarn?
…yes? What other kind of drop spindle do you know of?
I don’t, which is why I was clarifying.
Huh?
I hoped there would be some logical explanation for why you’re happy.
Because I’ll be able to start trying to spin yarn.
Oh, right. It’s a bit less common on your world to do that, isn’t it?
I don’t know. It’s certainly not overly common.
If I had to spin in my new home, I’d be jealous of that. As it is, however, I’m not. I needed to spin back on my world, but I don’t here.
I guess the novelty of it does count for a lot.
But anyways, I made a very bad, very short length of yarn tonight! And I’m very happy. After all, I’ll only be able to improve, right?
Well, I don’t think you can get any worse.
…Uh, yeah. Well, it was my first one. And I’m using a video tutorial. So yeah, it’s bad. But I’m still very happy with it!
I have a hope of being able to crochet my own hat from hand-spun yarn one of these days. Preferably soon. But more likely, before I die. You know, set your goals low, and then you can meet them!
That’s one way of looking at it, I suppose.
Yup! Anyways, Happy Sunday, Fluffsters! I hope you have an excellent week.
DIY Housewarming Card
Note: If this is your first time to TotalFluff, please visit this brief explanation. Thanks!
Hello, Fluffsters! Remember how a bit over a week ago I ruined a pair of pants doing a craft project, and I said I’d share photos with you in a while, because it was a gift for someone?
Well, today’s your lucky day, because I’m about to share the photos with you!
“Your lucky day”? Really, Webmaster? Do you try to come across as arrogant, or does it come naturally to you?
…Says the know-it-all in the computer…
But I digress.
DIY Housewarming Card
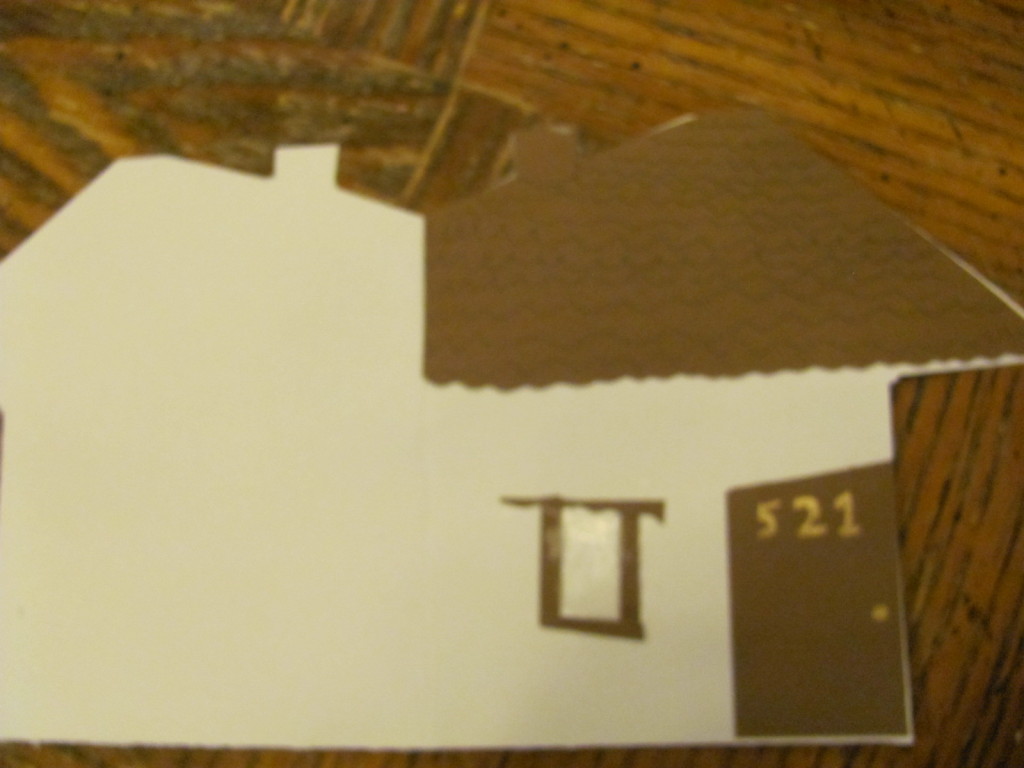
So, here’s the end result:
I didn’t do a professional looking message, but I did write a personal one. So I don’t have a picture of the inside. But really, it’s nothing very special.
Here are the instructions for how to make it.
1) Find a light-colored piece of cardstock and a brown piece of cardstock. I chose white and dark brown. Clearly. The white is the main color, the brown is the roof and door color.
2) Cut them in half vertically. Keep one piece of each color. You won’t need the other scraps.
3) Fold in half. The end result is that you have a card that’s about a quarter of a page in area. Half of the length by half of the width. Basically, this is to make it fit in a greeting-card-sized envelope. (Normally they’re called “invitation envelopes”, I think.)
4) On the white cardstock, trace a house shape. Note where your fold is. The way I did my house was I kept the fold to the left of the “floor”. So in the bottom right hand corner, I traced a rectangle. Or a semi-rectangle. If the angles are not perfect right-angles, it adds a cute, quirky look to the card. For the roof, start at the corner where your rectangle left off. Figure out what angle you want your roof to have. Trace that angle. Note what your angle is, and draw a similar angle down. Note: Do this on the “right” side of your white cardstock. If you want to add a chimney, find a location on your slanted roof. Trace a small semi-rectangle.
5) Cut out the shapes. Hold both pieces of cardstock together, and cut. In this instance, you probably want the brown on the inside so that you can see the traces. Be sure to keep your pieces of cardstock folded! Note: I didn’t do this, but you could cut the brown cardstock in half, on the fold, before your cut out the shapes. That might make it a bit easier in future steps.
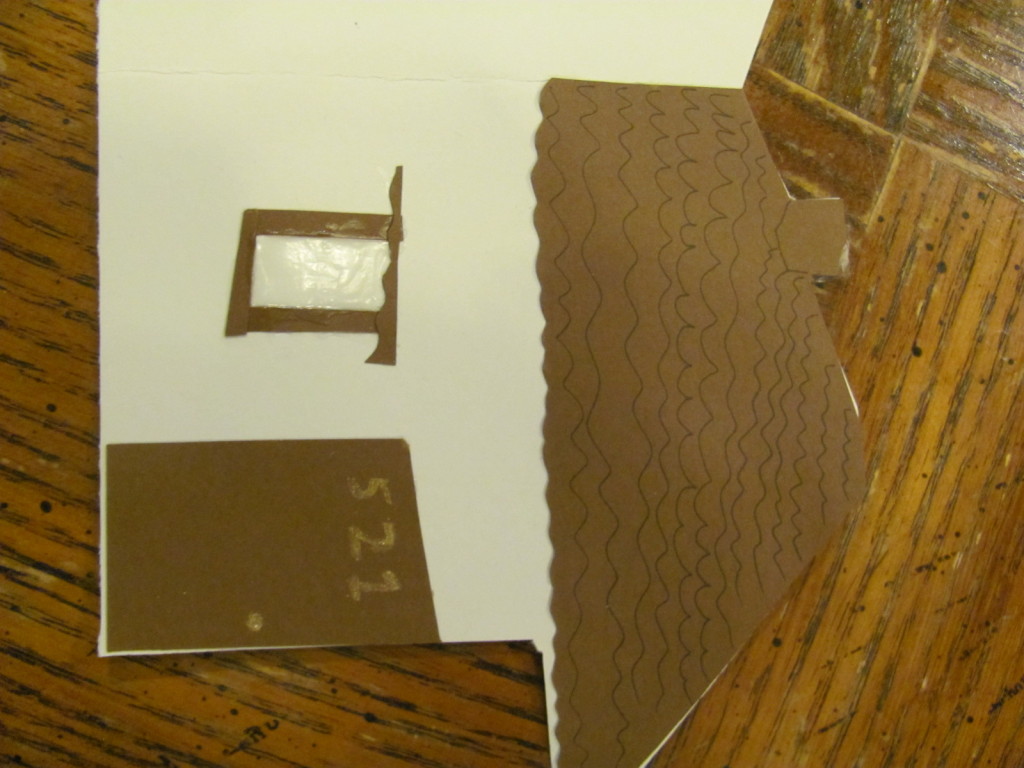
6) Shape the brown cardstock. Find the bottom of the roof. I scallop-cut across where the bottom of the roof was. From the remaining cardstock, you can cut a thin(ish) rectangle to be your door. Looking at the dimensions, I think it was probably about a 1×2 inch rectangle. Start off with a bit bigger than that, and trim it down to an appropriate size. Also, cut out 4 thin strips of cardstock to make windows with.
7) Glue. First, you want to glue the brown of the roof to the top of the white card. Try to make it line up. After all, you cut them to exactly the same dimensions… So it should work, right? Then you probably want to glue the door. Find where it looks reasonable, and glue it down. This is your card, so you have flexibility here! You can look at the pictures of mine for a reference, if you wish. After you get the door done, you’re going to do the window. Ok, so I’m going to suggest you do it differently from how I did it here. I recommend spreading glue in a rectangle, and then pressing the little strips of cardstock you made onto the glue. What I did was I glued down the cardstock, each piece with its own glue squirt. I realize now that it wasn’t the best of all possible ideas… If you do go with my original way, you will then want to spread a thin layer of glue on the inside. When the glue dries, it leaves a shiny appearance. This will give your “window” a slight “glass” effect. If any of you are artistic, or if you know what the inside of your friend’s house will look like, you could probably past a picture of their house behind the “window.” That could actually be really cute! Let me know if you do that?
Anyways.
8) Paint / decorations. I happened to have a bit of gold paint on hand. I took a very fine tipped brush and painted a doorknob onto the door, in addition to the location’s street number there at the top. At some point in there I also ended up sketching “shingles” onto the roof. That’s totally optional. I’m not sure I like how that part came out, but it was probably worse just having straight brown. So all in all, I think it was the better move.
Happy Sunday, Fluffsters! Have fun! If you do end up making a card like this, do let me know! (I’d also love to see pictures.)
DIY Flower Hair Wreath
Note: If this is your first time to TotalFluff, please visit this brief explanation. Thanks!
Hello, Fluffsters!
In case you hadn’t picked up on this by now, I enjoy arts and crafts. Tonight I made a flower wreath for my hair. (Out of fake flowers, so I’ll be able to use it for an upcoming event.)
It’s not entirely finished yet, but it’s close! (I need to trim some ends, and decide whether or not to add glittery stuff. It’s going to be for a semi-earth-fairy-ish costume, so I’m potentially going to sparklify it. Regardless, I needed a flower circlet for the character, so I decided to try to DIY a flower wreath. 🙂 )
First, I went to Michaels and looked for some mini rosettes. The original plan had been to braid some of those lovely wire-stemmed miniature rosettes into a wreath. That didn’t happen, due to lack of rosettes I was looking for. So I improvised.
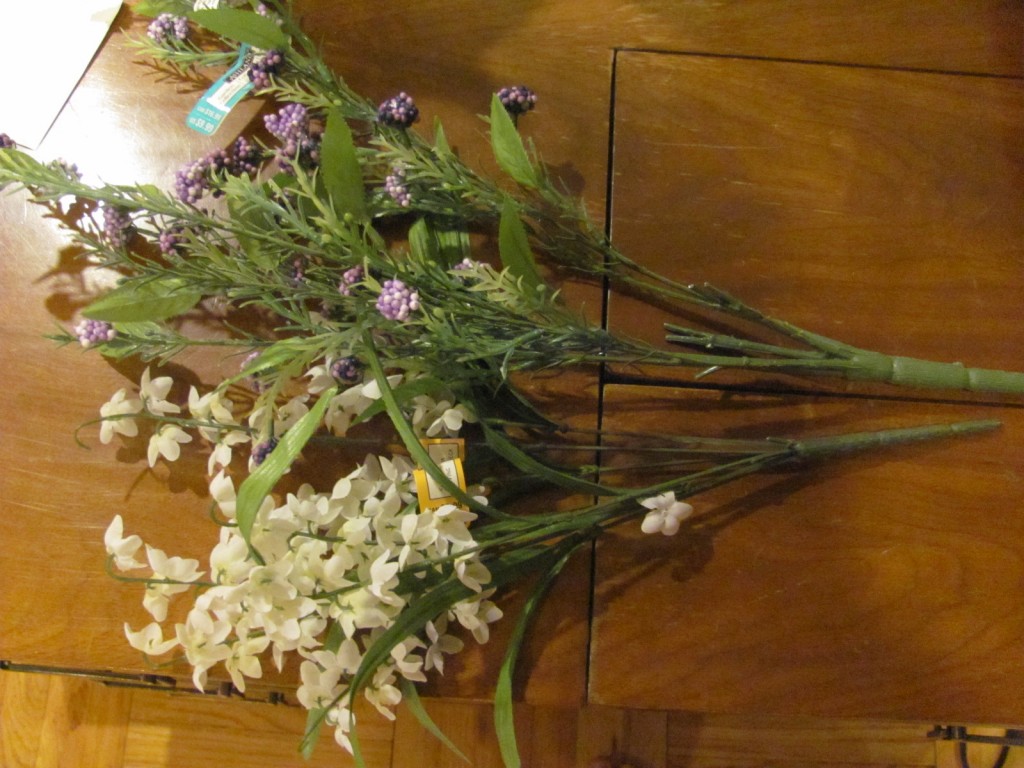
I instead went with these flowers:
Fortunately for me, they were on a good sale, so I got them for a decent price. I actually took that picture after removing a number of the flowers (with stems) for the wreath. But that’s getting ahead of myself…
So as I was saying. I got those flowers. And then I used some wire cutters to cut individual strands as long as I could. I removed leaves and extra bunches that were at extreme angles.
I then laid about three stalks together, and somewhat braided them. The stems were not that malleable, so I used some ribbon (and later some long synthetic leaves from the white bunch of flowers) to tie the stalks together. When I got towards the end of a bunch, I put the next set on. And kept tying.
As I was doing this, I measured the wreath around my head to make sure it would fit. (That had the added bonus of building the curve into the wreath.) As I tied and measured, I did bend the stems into the proper form. They can hold the more gradual curve; they’re just not good for braiding.
When it got long enough, I tied the beginning to the end.
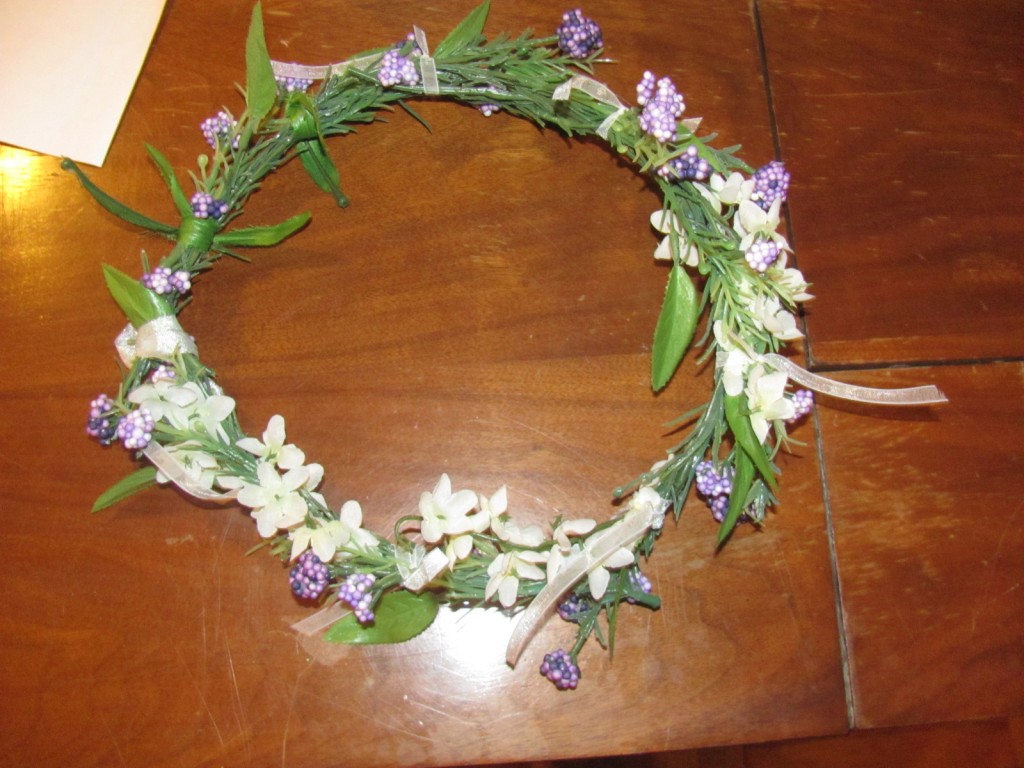
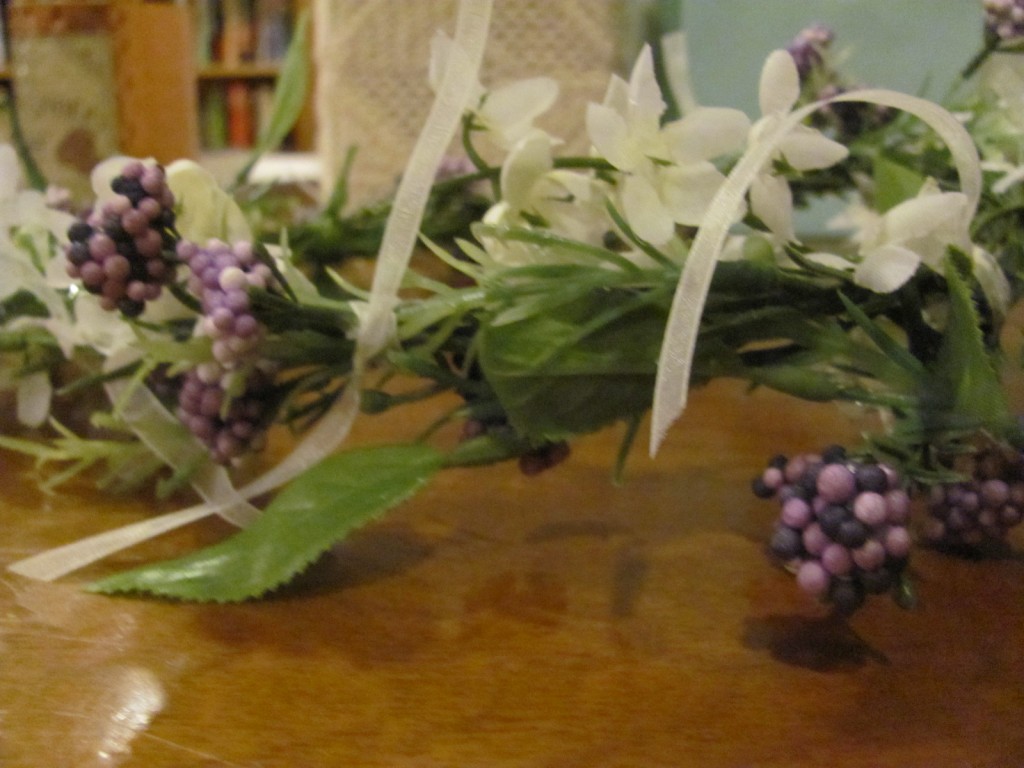
Here’s what I have of the wreath so far:
Front view:
I’m fairly happy with how it turned out. 🙂
How about you, Fluffsters? Have you created anything interesting lately?

